Wynne Pankusya [0333258]
Digital Imaging and Visualitation
Exercises
Tutorial
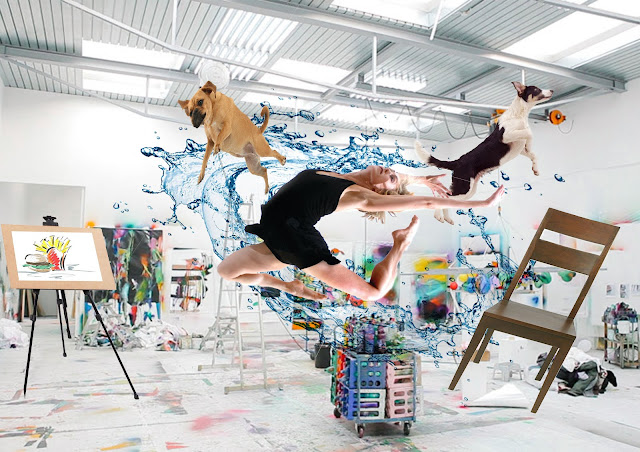 |
| Img.1 Using Dali Atomicus photograph as reference |
Exercise
This week we are supposed to create a surrealistic photo montage by combining organic and inorganic objects. To create it, we need to find a certain background that we will go crazy with the editing until we create an insane surrealistic photo. Before we started to make our own surrealistic photos, we are intended to produce a surrealistic photo that's similar with Dali Atomicus photograph.
1st
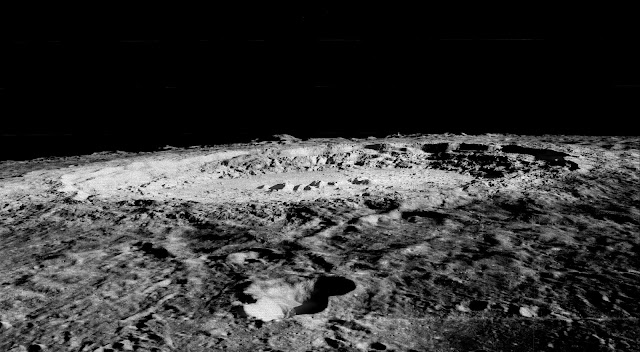 |
| Img.2 I'm using this photo as my base which is a moon's surface |
 |
| Img.2.2 After I place the base background, I selected the sky that I wanted (but I ended up not using this one). Thus I decreased the opacity so I can mask and remove unwanted part (I used black brush to delete it) and at the same time looking at the base so it'd be neat and looks like as if it's from the actual background. |
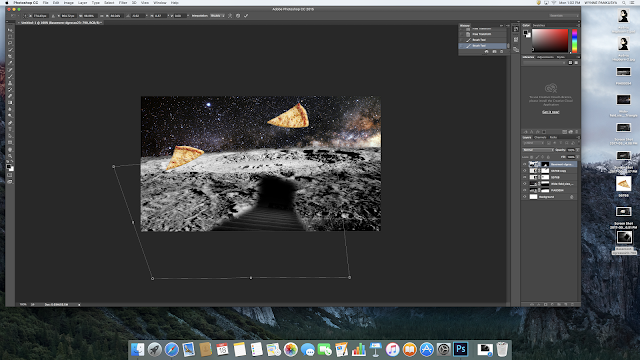 |
| Img 2.3 Same thing goes to these objects, I used magic wand, brush tool and lasso to create this in layer mask. It's crucial to remember that we need to invert after we selected it so it can be showed or else it'd be vice versa |
 |
| Img.2.4 When it comes to adjusting the edges, I refined it so it'd look more "blended" rather than looking like too fake |
 |
| Img.2.5 I did all the objects the same by masking, this part i wanted to make a pool with clouds in it so I did the same thing as before I did on the background and the sky. |
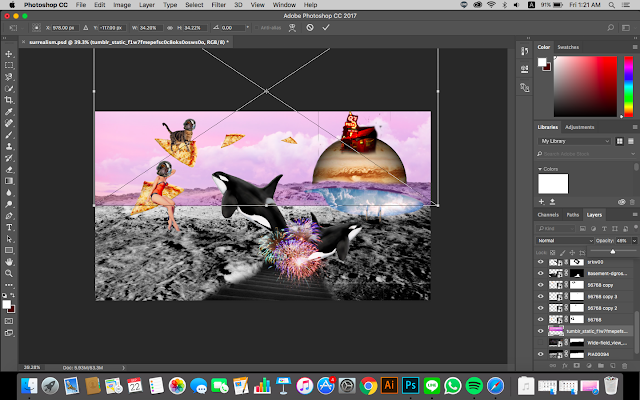 |
| Img.2.6 I wanted to remake the background and the concept so the same thing I did just like how I mentioned before but I used different sky |
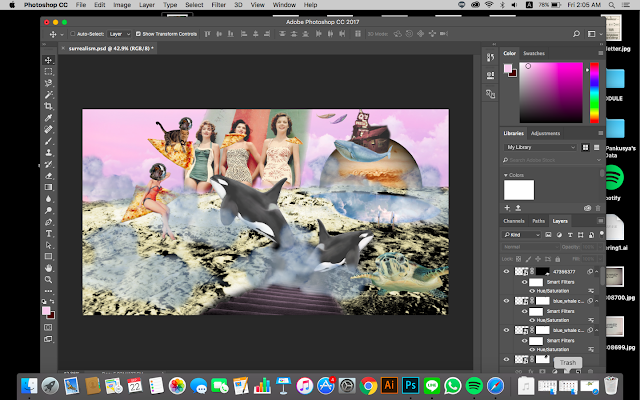 |
| Img.2.7 I added more objects , recolor the moon surface with brush and moved some layers accordingly so it won't look odd (I wanted some layers to go behind from the previouse one) |
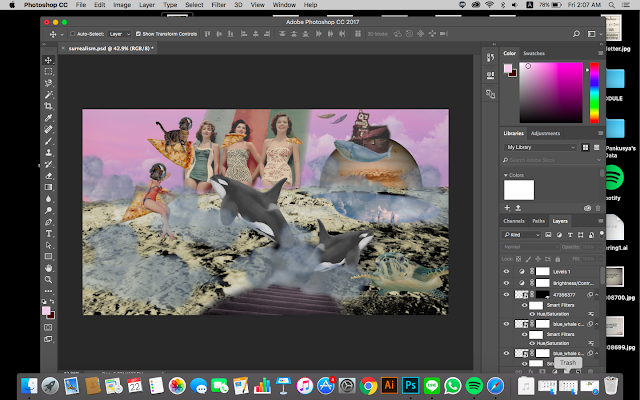 |
Img.2.8 After I added more objects, I adjust the brightness/contrast, and levels
Img.3 Final Result
Animation

Img.4 On this part we are supposed to make the animated GIF of how we did the surrealistic photograph
I'm using the time line and adjust the things that I wanted to show and hide and also how long the duration I wanted

Img.4.2 Export and Save for Web
Img.4.3 Save it as a GIF
Final Result
2nd
Img.5 Recreating George Redhawk's surrealism
Img.5.2 Using black and white image of a body to recreate the surrealism photo
Img 5.3 The pattern that I'll be using
Img 5.4 Placing the pattern photo and change the blending mode as if it's the part of the skin
Img 5.5 I delete unwanted parts by masking and to make it looks 'moving', i moved the pattern down a bit for each layer
Img 5.6 Final Layer
Img. 5.7 Final result
Reflection
I was really confuse when it goes to masking and such things because I always find the result is not good enough because of the harsh edges. However after I tried some tricks, I found this quite easy. Thus I had a lot of fun and playing with my imagination.
|




Comments
Post a Comment